
Orange Fabric Wall Decal
Thanks for your comments/suggestions about what should go on the blank wall in our baby room! Some sort of tree was the overall gist from a few comments. One friend of mine thought I should use and old pallet, but she and I both knew that would be too in depth, with too much assembly for me at this point with a couple weeks left.
I saw an idea for executing this project on, where else?…Pinterest! Thanks to Melanie who writes Sewing for Scarlett for her inspiration and instructions for how to make a tree on our rented walls. I used Steam-A-Seam-2 as she said, tested it in a closet, and felt confident in not ruining the walls.
This one called for step-by-step pictures!
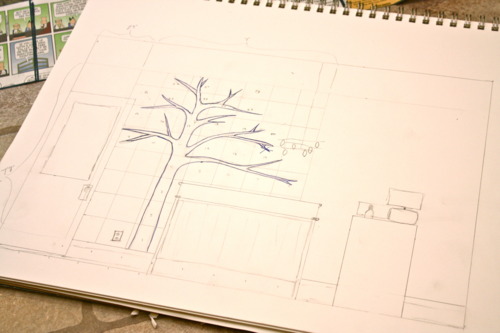
I started with a drawing of the wall (yes, the calculated artist in me made it to scale…partly because it made it easier in the end) where 1 inch = 1 foot.
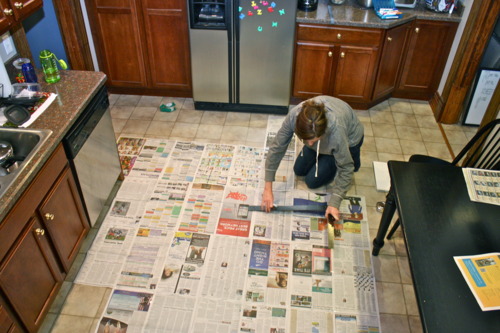
Here I am in our kitchen with table pushed aside so that I could take the small drawing of the wall with the tree on it and enlarge it to make a pattern out of newspapers.

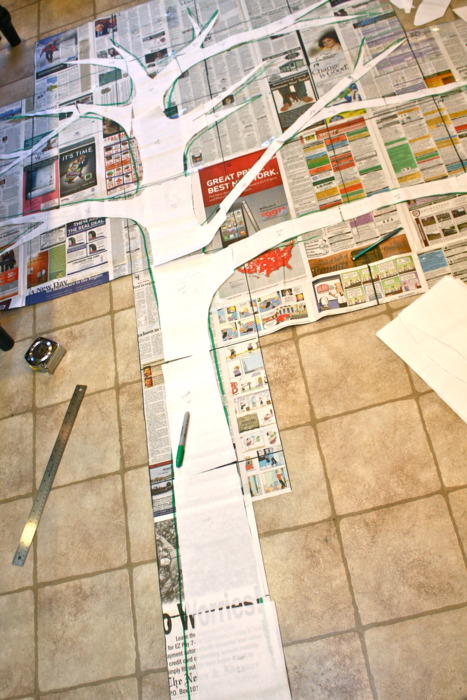
I traced the tree onto sheets of the Steam-A-Seam-2 (found at JoAnn Fabric in our area). My genius husband suggested I label the pieces/branches in order and I’m so glad I did.
The next image is after peeling off the front of the sheets to stick them face down on the back of the fabric.

After using the stuck on sheets as a pattern for the fabric (so easy to cut out this way), we (my friend/assistant at the time, Sarah Pisney) peeled off the other side of the sheets and stuck the tree to the wall. Thanks Sarah!

It is sticky enough to position it on the wall with no problem and then below is the finished tree after ironing on making it a little more “permanent.” As I said earlier, I’m pretty sure it will come off without much of a problem when we move.

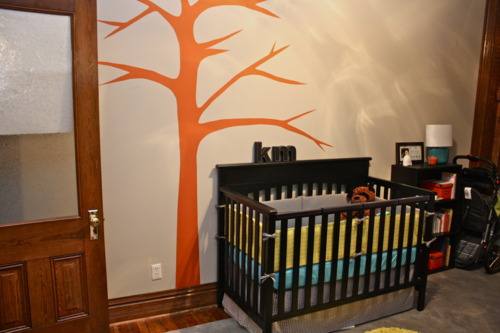
No more blank, large, grey wall and one step closer to feeling like the room is complete! Thanks again for the suggestions in week 31’s post.
:: Rachel